Why This Checklist Exists
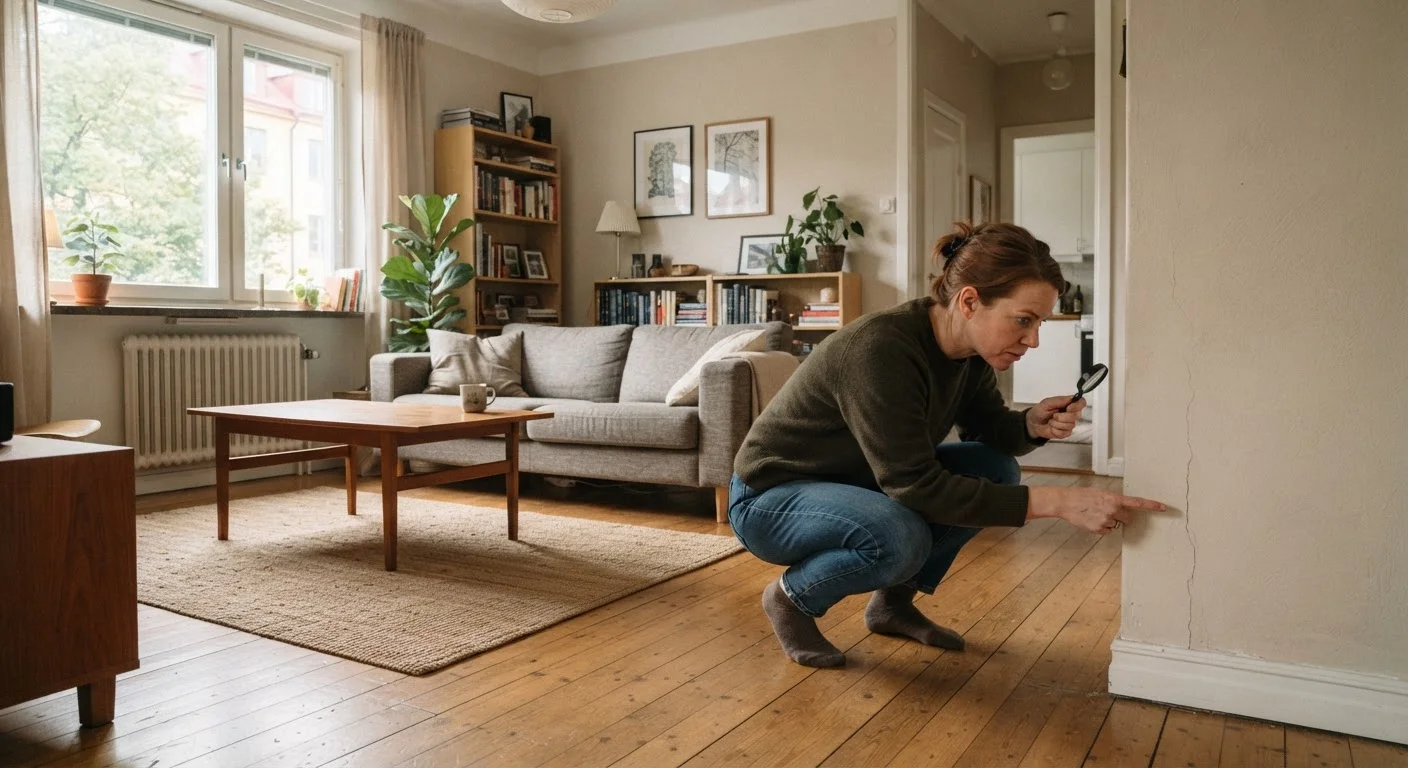
Security deposit disputes are one of the most common headaches renters face. A landlord may claim that damage was caused by you during your tenancy - even if that crack in the wall or stain on the carpet was already there when you arrived. Without documented proof, it's your word against theirs.
This checklist gives you a systematic way to inspect and record the property's condition before you move in a single item. It takes less than two hours and could save you hundreds of dollars when you eventually move out. If you're still working through the basics of renting, our guide to signing your first rental covers the full pre-lease process.
Print this checklist, walk through every room, and keep a copy of everything you submit to your landlord. It's the kind of preparation that quietly pays off later.
Don't Skip This Step If the Landlord Seems Rushed
Some landlords may discourage a thorough walkthrough by saying the property is "move-in ready" or that a formal inspection isn't necessary. Politely insist anyway - it's your right as a tenant, and it protects both parties. A landlord who is genuinely confident in the property's condition shouldn't object.
What You'll Need Before You Start
Gather these tools before your walkthrough so you're not hunting for things mid-inspection.
Smartphone with a working camera
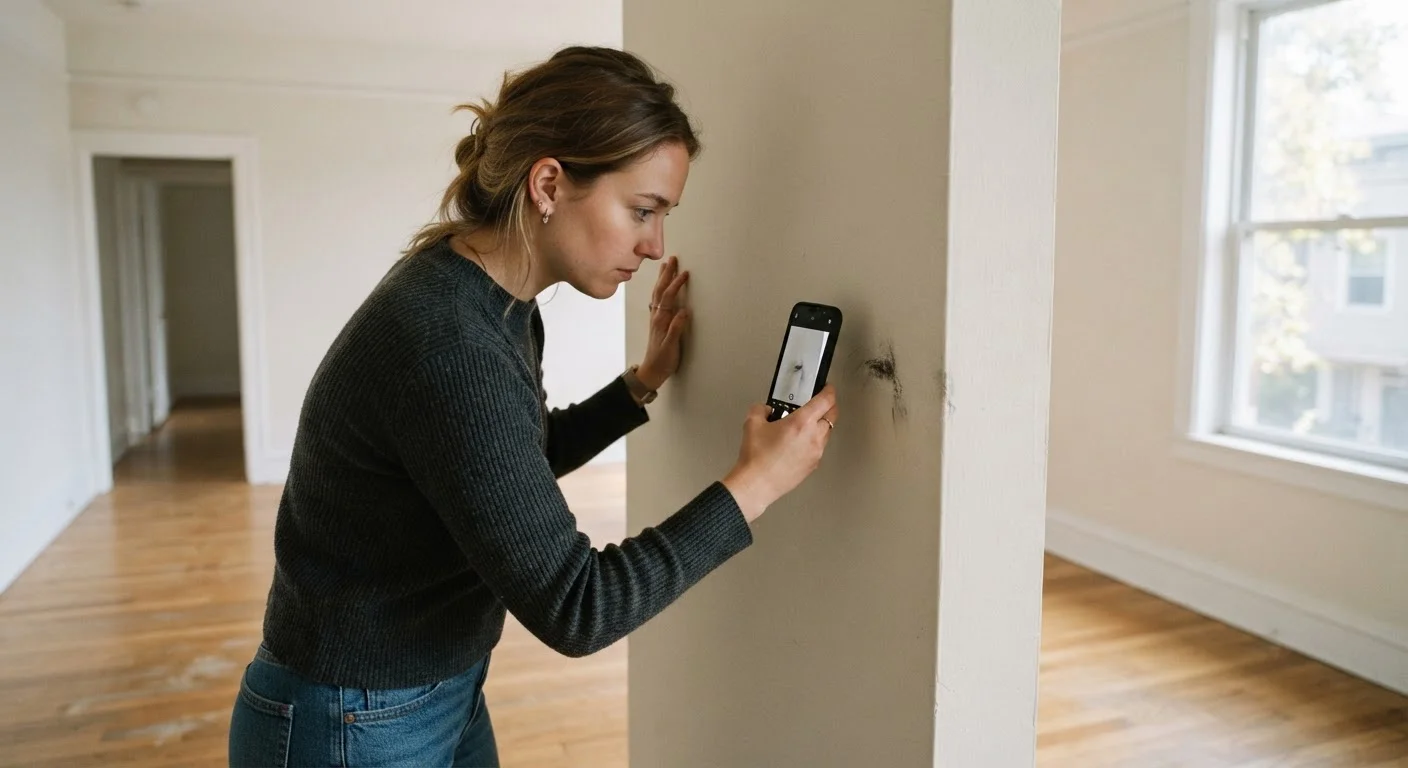
Take timestamped photos of every existing flaw throughout the property.
Printed or digital copy of this checklist
Work through rooms systematically without missing areas.
Notepad or notes app
Record specific locations and descriptions of damage alongside your photos.
Phone charger or small plug-in lamp
Test every electrical outlet quickly and easily.
Flashlight or phone torch
Illuminate dark corners, under-sink cabinets, and closets where flaws hide.
Cloud storage or email account
Store and send your documented photos and notes with an automatic timestamp.
Set aside time before your furniture arrives - ideally on key-handover day. Good natural light makes it easier to spot scuffs, stains, and hairline cracks that you'd miss later once rugs and furniture are in place.
The Room-by-Room Checklist
Work through each group systematically. If you find a problem, note its exact location (e.g., "north wall, 18 inches from door frame"), take a timestamped photo, and circle it on a hand-drawn floor sketch if helpful. The goal is to be specific enough that there's no ambiguity later.
Walls, Ceilings & Floors
Windows, Doors & Locks
Kitchen & Appliances
Bathrooms
Electrical & Safety
General & Exterior
For a deeper look at what different rooms' warning signs can mean structurally, see our room-by-room home warning signs checklist.
After the Walkthrough: What to Do Next
Completing the walkthrough is only half the job. How you handle the paperwork determines whether the documentation actually protects you.
- Compile everything into one document. Include your written notes alongside dated photos. Many renters use a shared cloud folder so files have an automatic timestamp.
- Email it to your landlord within 24-48 hours. Written communication creates a paper trail. Request a read receipt or ask them to confirm they received it.
- Keep a personal copy indefinitely. Store it somewhere you'll find it in 12 or 24 months - not just on a phone you might replace.
If your landlord provides their own move-in inspection form, complete both yours and theirs. Having two records rarely hurts, and it signals that you're a careful, organised tenant.
When you're ready to think about the other end of your tenancy, our move-out checklist walks you through the steps to leave on solid footing. And once you've done the inspection, you can start thinking practically about your space - our room-by-room setup sequence helps you get functional fast without wasting effort.
Always Get Confirmation in Writing
Verbal acknowledgment from your landlord means very little if a dispute arises months later. After your walkthrough, send your completed inspection notes and photos by email so there is a dated, written record. If your landlord disagrees with any item you've flagged, that conversation should also happen in writing. Keep all correspondence for the full duration of your tenancy.