Why Most Day-by-Day Plans Fall Apart
The impulse when planning a trip is to fill every hour - you're spending real money to be there, and the fear of missing something drives decisions. But overscheduling is consistently the thing that makes trips feel exhausting rather than enjoyable. Activities run long, transit takes more time than expected, and what felt reasonable at a laptop at home becomes physically unsustainable in the field.
A good itinerary isn't a minute-by-minute schedule. It's a flexible framework that tells you roughly where you're going and in what order, while leaving enough room for reality to exist. If you're not yet sure what a well-structured itinerary actually looks like, understanding what a travel itinerary is and why it matters is a useful starting point before diving into the steps below.
Overscheduling Is the Most Common First-Timer Mistake
Most first-time travellers underestimate how long everything takes - from finding the restaurant to waiting in ticket lines to simply walking between spots. Packing ten things into one day almost always results in rushing, missing experiences, or ending the day frustrated. Plan for less than you think you can do, and you'll consistently enjoy more.
The steps in this guide are designed to be worked through in order. Each one builds on the previous, so resist the urge to jump straight to booking tools before you have a working draft of your days.
What you will need
How to Build Your Itinerary Step by Step
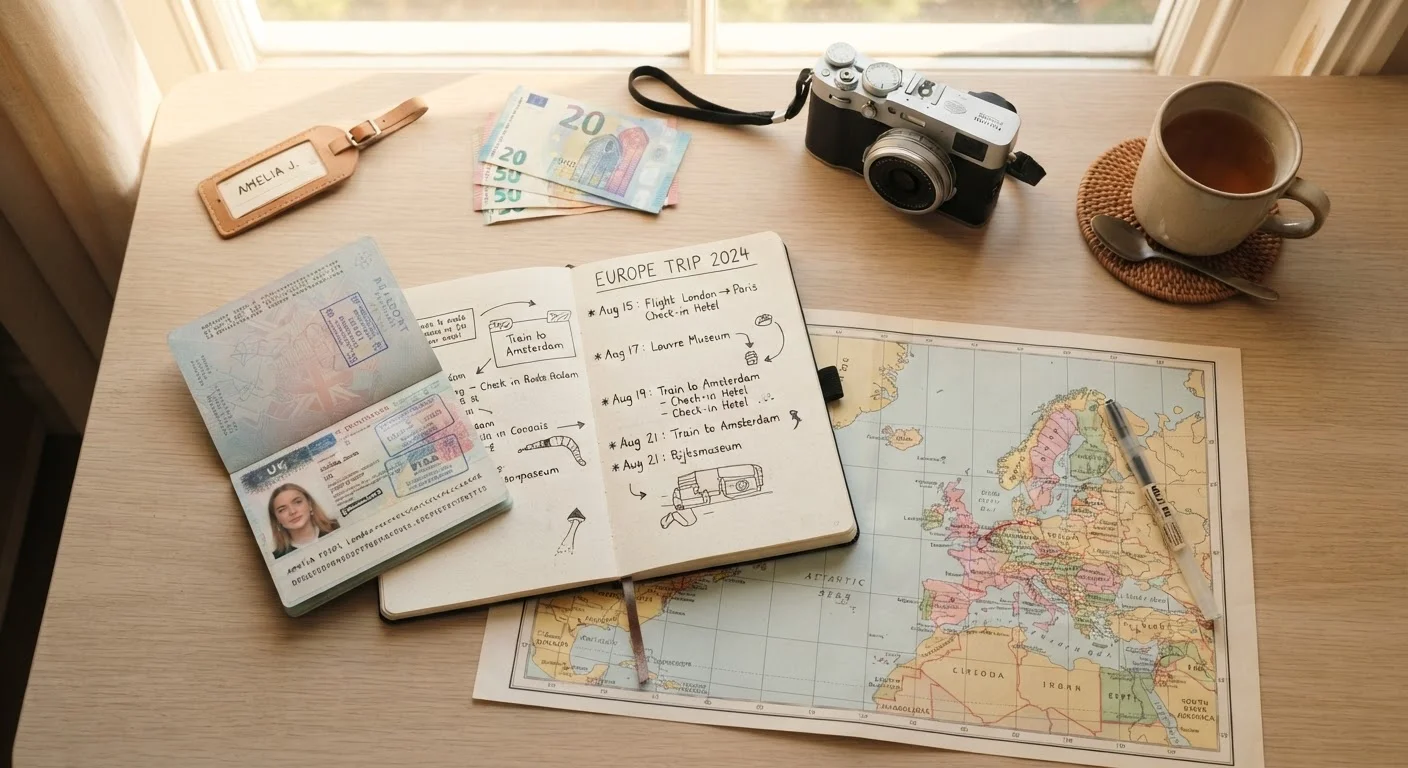
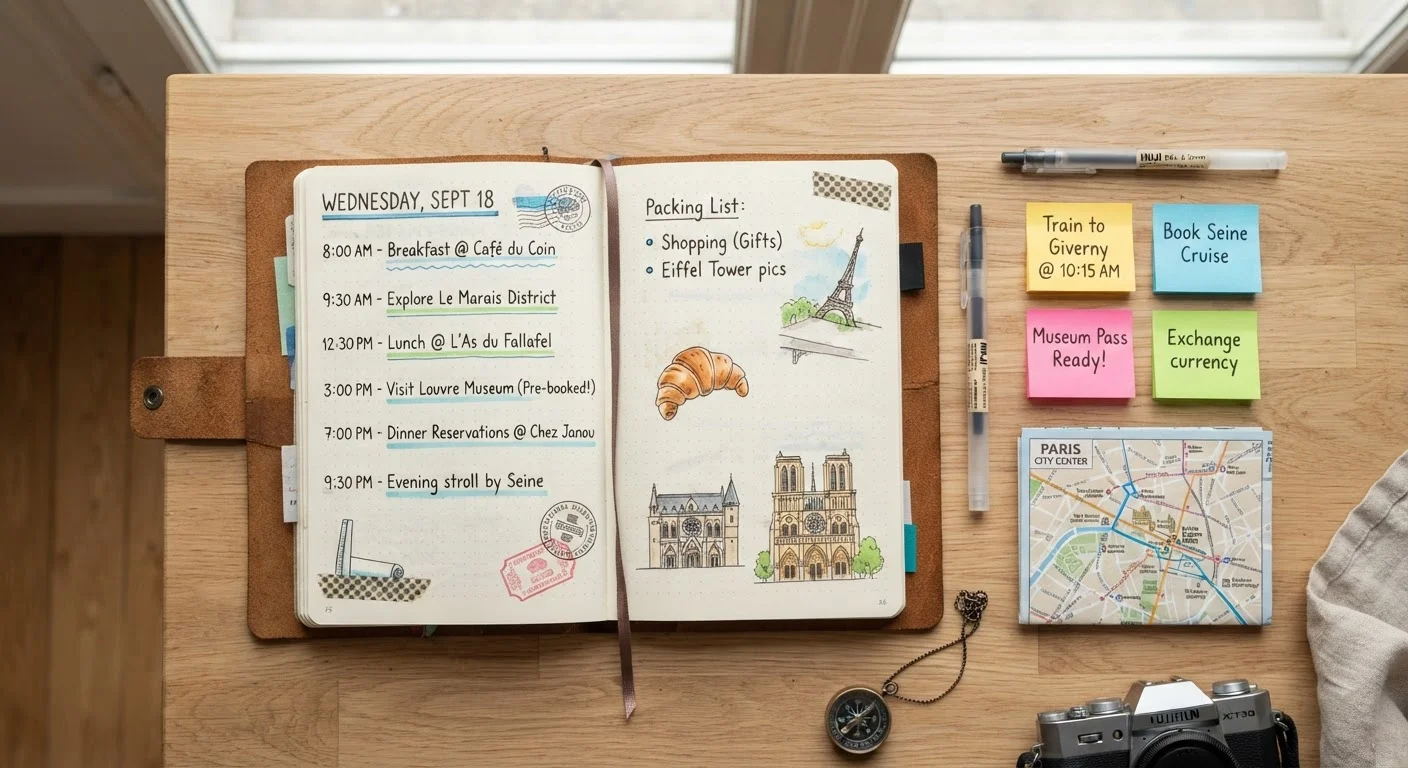
Before you start, gather the tools that will make the process easier and more visual. A spatial overview of your days - rather than just a list of activities - lets you spot problems before they become real-trip problems.
Digital or paper calendar grid
Provides a day-by-day visual layout where you can map out activities, meals, and transit without losing track of the overall trip shape.
Map application
Used to check real distances and travel times between planned locations so you can group nearby activities on the same day.
Notes app or travel journal
Captures activity ideas, opening hours, and reservation details in one searchable place as you research.
Spreadsheet tool
Lets you build a structured itinerary with columns for time, activity, location, and notes - easier to adjust than a static document.
List Everything You Want to Do - Then Cut It in Half
Start with a brain dump: write down every activity, site, restaurant, and experience you're considering. Don't filter yet. Once you have the full list, sort items into two categories: must-do and nice-to-have. Most travellers find their initial list is two to three times what's actually achievable in the time they have.
A realistic rule of thumb: plan for two to three anchor activities per day, with meals and transit filling the gaps. If your list still feels long after cutting, move overflow items to a dedicated "if time allows" list - not the main itinerary.
Group Activities by Geographic Area
Open your map tool and plot your shortlisted activities as pins. Cluster pins that sit close together - these belong on the same day. Jumping across a city to hit unrelated spots burns time and energy fast, especially in an unfamiliar place.
Assign each cluster a rough day: "Day 2: Old Town area," "Day 3: waterfront and market district." This geographic grouping is one of the highest-impact moves you can make early in the planning process, and it's a cornerstone of the broader approach described in trip planning from scratch.
Add Realistic Time Blocks Including Transit and Meals
For each activity, estimate the actual time involved: getting there, the experience itself, and getting to the next location. A museum visit might take 90 minutes inside, but factor 20 minutes of transit each way and a 10-minute walk. Suddenly that's two hours and 20 minutes for one activity.
Meals are often underestimated. A sit-down lunch in a busy area can easily run 60 to 75 minutes when you include waiting and ordering. Block meals as proper time commitments, not gaps to fill opportunistically.
Build in Buffer Time Every Single Day
After you've blocked out your activities, add a 30-to-60-minute buffer somewhere in each day - ideally mid-afternoon. This absorbs the small delays that are inevitable: a longer queue, a slow café, a spontaneous detour down an interesting street.
Without buffer time, one delay cascades into missed reservations and a stressed evening. With it, the same delay is just part of the day. This is one of the planning assumptions most likely to catch travellers off guard - for more common pitfalls, see planning assumptions that catch travellers off guard.
Schedule at Least One Unstructured Half-Day per Three Days
Deliberately leave a half-day on your itinerary with nothing planned. This isn't wasted time - it's where some of the best travel moments happen: stumbling into a local market, lingering over coffee, or simply resting so you're not burnt out by day four.
If you're on a shorter trip, even a two-hour window with no agenda has a similar effect. The goal is to make room for the trip to surprise you, rather than executing a schedule from 8 a.m. to 10 p.m. every day. How much unstructured time makes sense also depends on trip length - short vs. long trip planning breaks this down clearly.
Sequence Bookings After Your Draft Is Set
Only once your day-by-day draft feels balanced should you start locking in reservations. Booking activities before you have a coherent daily structure often means you end up building the itinerary around your bookings rather than your actual priorities.
Check which items require advance booking (popular tours, timed entry museums, restaurants), and note which days they fall on. If a booking conflicts with your plan's flow, you still have time to adjust before anything is confirmed. For guidance on sequencing bookings smartly, see when to book what.
Use a Simple Color-Coding System
When drafting your itinerary - whether on paper or in a spreadsheet - color-code entries by type: orange for transit, blue for sightseeing, green for meals, grey for rest. A quick visual scan tells you immediately if any day is dangerously front-loaded with activity, letting you rebalance before you leave home.
Once you've worked through these steps, your itinerary should feel achievable rather than aspirational. The measure of a good plan isn't how many things it includes - it's how confident you feel about actually executing it without running yourself into the ground.
For additional context on staying safe and healthy while travelling - which becomes relevant once your logistics are set - the Travel Safety & Health hub covers the essentials in plain terms.