Why "Stay" Falls Apart for Most Dogs
"Stay" looks simple - ask your dog to hold position, then reward. But most dogs learn a version of stay that collapses the moment something interesting happens nearby. The reason is almost always the same: owners increase duration, distance, and distraction at the same time, before the dog has mastered any one of them independently.
Animal behavior science describes these as the "three D's" of stay training. Each one is a separate skill. Combining them prematurely is like teaching someone to drive in rush-hour traffic before they've practiced parking. If your previous stay attempts haven't held up, it likely isn't a dog problem - it's a training structure problem. Common training myths often lead owners to blame the dog's temperament rather than look at the method.
Before your first session, review the session readiness checklist to make sure conditions are set up for learning. Then gather what you need:
Small, soft training treats
Used to mark and reward correct stay behavior during each repetition.
Treat pouch or pocket
Keeps rewards quickly accessible so you can deliver them within 1-2 seconds of correct behavior.
Clicker (optional marker)
Provides a precise, consistent event marker if you prefer clicker training over a verbal marker.
Quiet indoor training space
A low-distraction environment allows your dog to focus during the earliest learning stages.
What You'll Need Before Starting
The prerequisites for teaching stay are minimal, but they matter. A dog that doesn't yet respond to a basic position cue - sit or down - isn't ready for stay. Stay is a duration behavior layered on top of a position behavior, so the foundation has to be stable first.
What you will need
If you're working with a new dog, the first 30 days framework explains where stay fits relative to other early priorities.
Step-by-Step: Building Stay the Right Way
Follow these steps in order. Resist the urge to skip ahead - each step builds the foundation the next one depends on. Sessions of 5-10 minutes work better than longer ones; short and frequent beats long and occasional every time.
Don't Skip the Release Cue
A stay is only as reliable as its ending. Without a clear release word - such as "free," "okay," or "break" - your dog has no way of knowing when the behavior is finished. Without this signal, dogs learn to self-release, which quickly unravels everything you've built. Choose one release word, use it consistently, and teach it before you extend duration or distance.
Establish Your Release Cue First
Before you ask for a single second of stay, teach your dog what done means. Ask for a sit, wait one second, say your release word (such as "free"), and immediately reward. Repeat five times. Your dog doesn't need to understand the release perfectly yet - you're just pairing the word with the end of effort and a reward.
Introduce the Stay Cue with Zero Duration
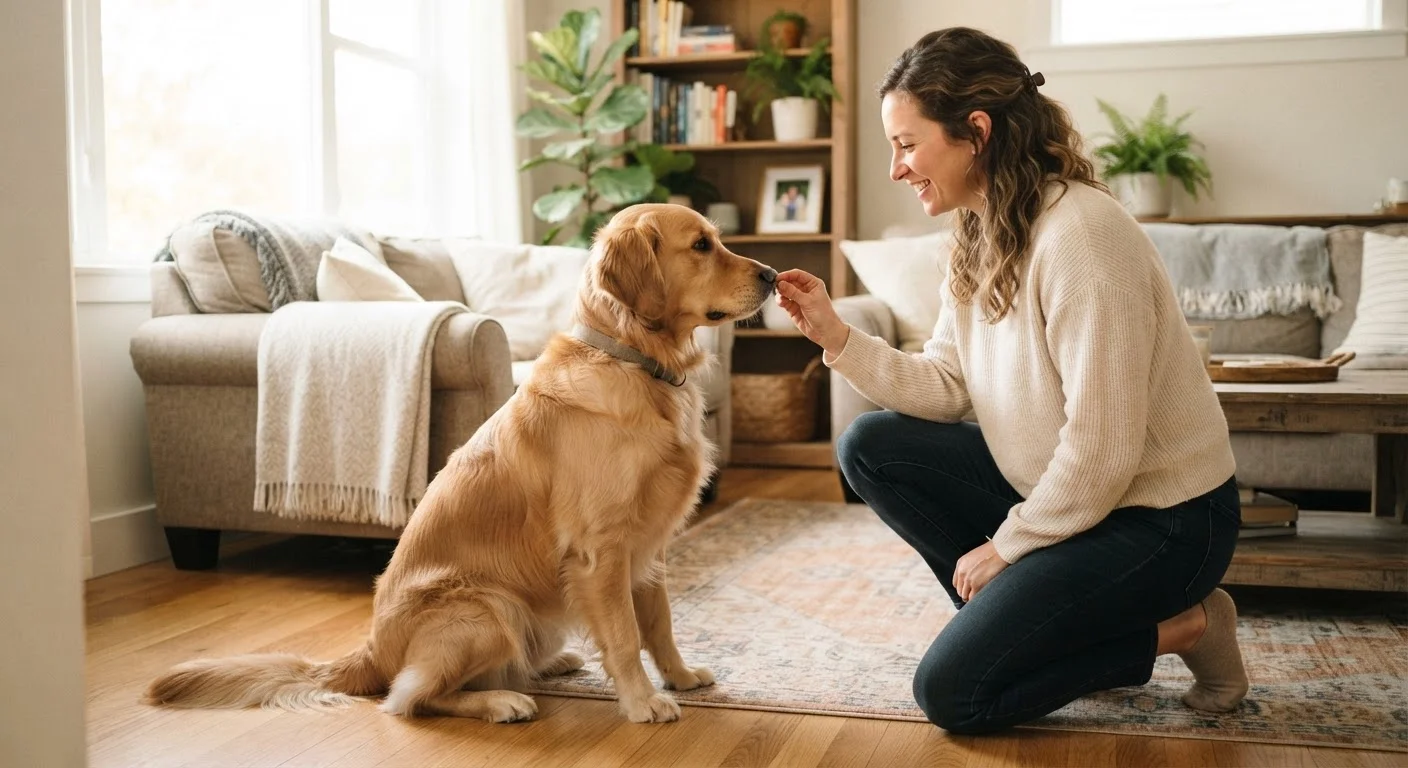
Ask your dog to sit. Say "stay" in a calm, clear tone and immediately mark and reward - don't wait even a second yet. You're teaching the dog that the word predicts a reward when they hold position. Do five repetitions at this zero-delay level before adding any time at all.
Build Duration in Small Increments
Now begin adding time - but slowly. Move from zero seconds to two seconds, then four, then six. Don't count in your head; count out loud quietly or use a rhythm. Vary the intervals slightly so your dog can't simply anticipate a pattern. Reward generously for each success before adding more time. Aim for a working duration of 30 seconds before moving to the next element.
Add Distance - One Step at a Time
Once your dog holds a 30-second stay reliably, introduce distance. Take one step back, pause briefly, return to your dog, mark, and reward. Do not call your dog to you - walk back to them and deliver the reward at their position. This matters: returning to the dog reinforces the idea that stay means hold this spot, not wait until I call you.
Progress from one step to two steps, then three, gradually working toward a distance of about 10 feet before introducing any distractions.
Introduce Mild Distractions Last
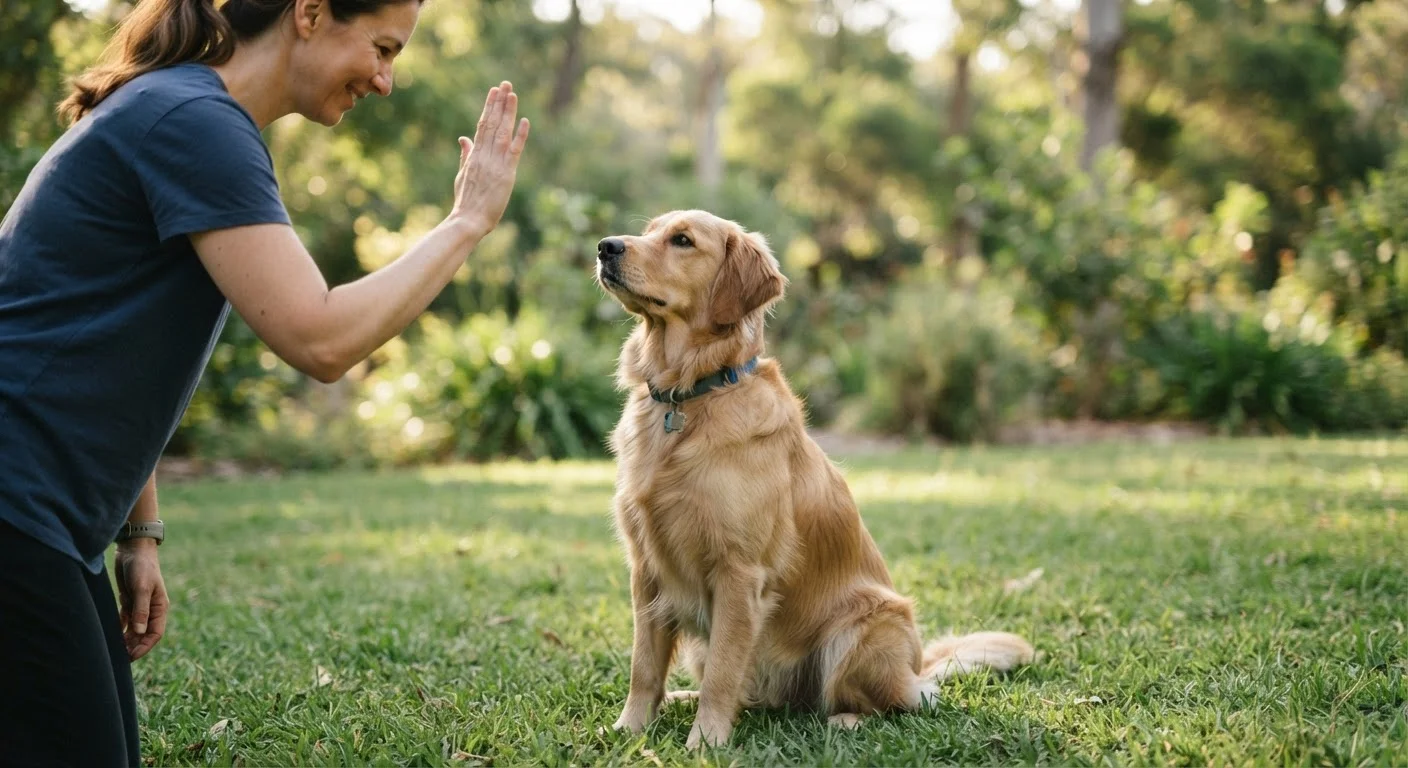
Distraction tolerance is the final layer - and the most commonly skipped. Start with mild environmental changes: practice in a different room, add a low-level noise, or move to a quiet outdoor area. Keep duration and distance modest when you introduce a new distraction. Once your dog stays reliably with mild distractions, gradually raise the challenge over multiple sessions.
Proof the Behavior Across Real-Life Situations
The goal is a stay that holds when it genuinely matters - at the front door, before crossing a street, or when guests arrive. Practice these scenarios intentionally, at low stakes first. Ask for a brief stay before opening the door for a delivery. Gradually build the duration. Reward heavily when your dog succeeds in contexts that are naturally exciting.
Avoid Raising the Bar Too Fast
Increasing duration, distance, and distraction at the same time is the single most common reason "stay" breaks down. If your dog fails more than 20% of attempts in a session, you've moved forward too quickly. Drop back to the previous level where your dog was succeeding and rebuild confidence there before progressing again.
Maintaining Progress Over Time
Once your dog can stay reliably across varied environments, the work shifts to maintenance. Consistency in your cues and timing is what keeps a trained behavior strong. Inconsistent cues and poorly timed rewards are among the most common reasons a well-trained stay gradually deteriorates.
Use High-Value Rewards for Early Sessions
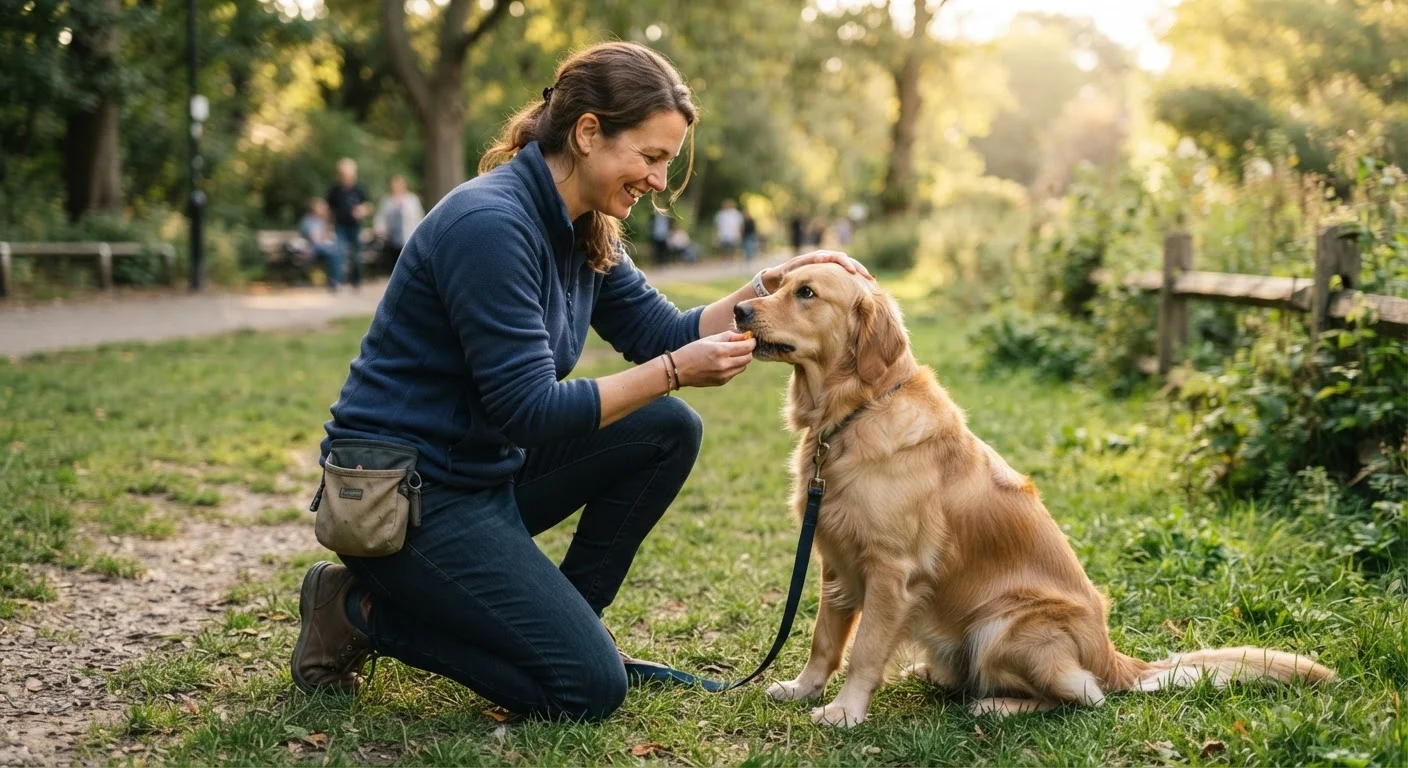
When you're first teaching stay, reach for something your dog finds genuinely motivating - small pieces of cooked chicken, cheese, or whatever gets a strong tail wag. Lower-value treats work fine for polished behaviors, but during the learning phase a more exciting reward accelerates understanding. Keep pieces small so your dog stays focused rather than distracted by chewing.
As your dog matures and gains experience, your approach will naturally need to evolve. Adapting sessions across learning stages ensures you don't stall out once the basics are solid. Stay is one of the most practically useful behaviors a dog can have - the time invested in building it properly pays off in everyday safety and cooperation for years.