Why the Sidewall Number Misleads So Many Drivers
When new car owners first think about tyre pressure, many look at the tyre itself - and the number stamped into the rubber sidewall seems like the obvious answer. In reality, that figure (often printed as something like Max. Press. 44 PSI or Max. Press. 51 PSI) is the maximum pressure the tyre casing can structurally handle, not a performance or safety target.
Your vehicle's engineers calculated an ideal inflation pressure based on the car's weight, suspension geometry, and load distribution - and that number is almost always lower than the tyre's maximum. Running a tyre at maximum sidewall pressure typically makes steering twitchy, reduces the tyre's contact patch with the road, and causes the centre of the tread to wear faster than the edges.
The Sidewall Number Is NOT Your Target Pressure
The PSI moulded into a tyre's sidewall - often reading something like "Max. Press. 51 PSI" - is the maximum pressure that tyre can safely contain, not the ideal operating pressure for your specific vehicle. Inflating to that number can make the tyre dangerously rigid, reduce traction, and cause uneven centre-tread wear. Always use the number from your door jamb or owner's manual.
The correct target for your car is printed on a sticker inside the driver's door jamb, on the fuel-filler door, or in the owner's manual. If you've never looked for it, check now - it takes about 30 seconds to find.
Tyre pressure also ties directly into safety outcomes most drivers don't immediately connect. Stopping distance is affected by more than just your speed - tyre condition and inflation play a meaningful role in how quickly your car can come to a halt. For a broader look at common misconceptions, the tyre myths that could actually get you into trouble are worth reviewing before you dismiss a slightly low reading as harmless.
What You Need Before You Start
Checking tyre pressure requires minimal equipment. A quality gauge costs under $15 at most auto-parts stores and will last for years.
What you will need
You do not need to buy an air compressor outright - most gas stations have coin-operated air pumps, and an increasing number offer free air. Once you have your gauge and know your target PSI, the entire check takes about five minutes.
Tyre Pressure Gauge
Measures the air pressure inside each tyre in PSI so you can compare it to the manufacturer's specification.
Air Compressor or Pump
Adds air to an under-inflated tyre to bring it up to the correct PSI.
Valve Cap Removal Tool or Fingers
Unscrews the small plastic cap on the tyre's valve stem to expose the valve before measuring.
Step-by-Step: How to Check and Adjust Tyre Pressure
Find your vehicle's recommended PSI
Before you touch the tyres, locate the correct pressure target. Open the driver's door and look for a sticker on the door jamb - it typically lists the front and rear tyre pressures separately. If there is no sticker, check your owner's manual under "tyre inflation" or "tyre specifications."
Note that front and rear pressures are sometimes different, and if your vehicle has a spare, its recommended PSI may differ again.
Check the tyres while cold
Driving heats the air inside your tyres, which temporarily raises the pressure reading. For an accurate measurement, check your tyres before you drive - or after the car has been parked for at least three hours. Even a short trip can add 4-6 PSI, which may make an under-inflated tyre appear acceptable.
Remove the valve cap and attach the gauge
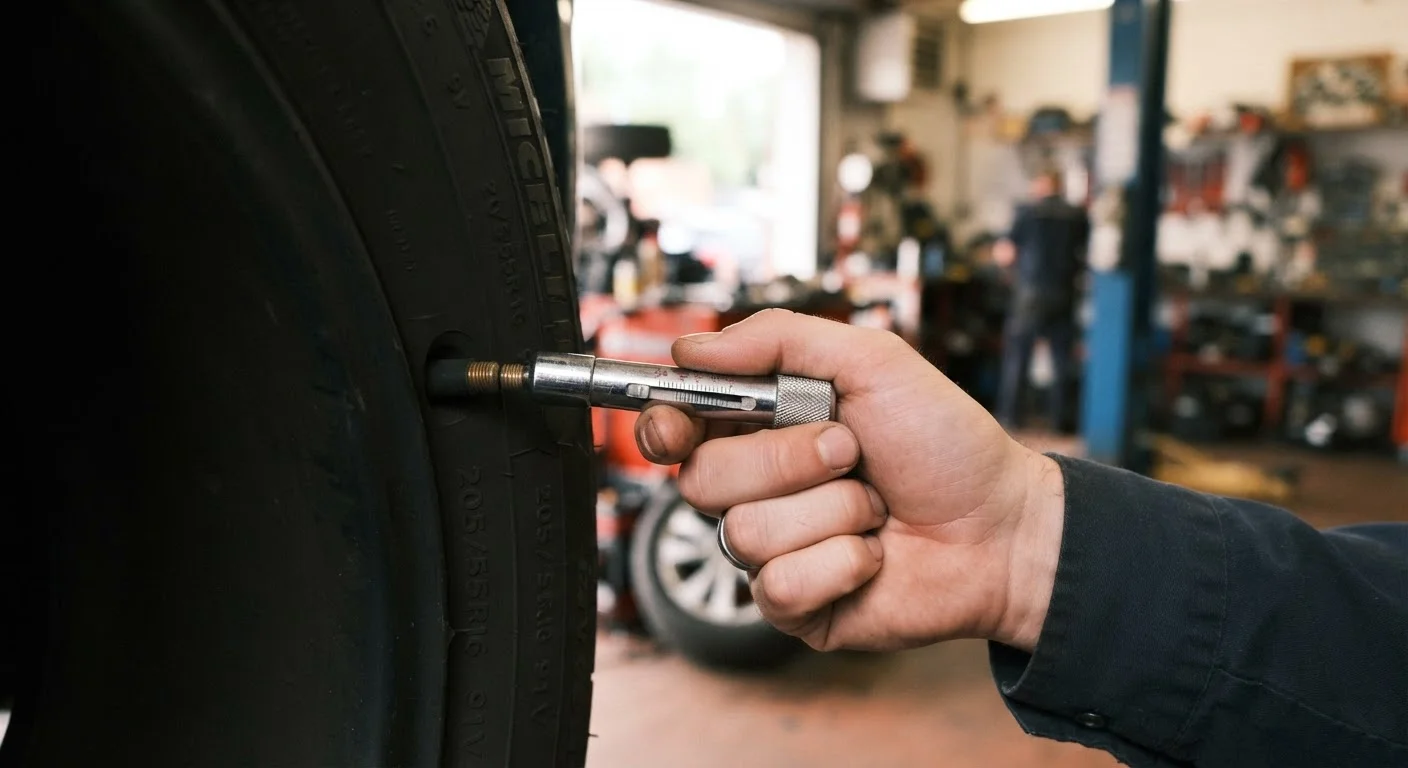
Each tyre has a valve stem - a short rubber or metal nozzle protruding from the wheel rim. Unscrew the small plastic cap counterclockwise and set it somewhere safe (they're easy to lose). Press the open end of your gauge firmly and straight onto the valve stem. A hissing sound usually means the seal isn't flush - reposition and try again. The gauge will display a PSI reading almost instantly.
Compare the reading to your target PSI
Compare what the gauge shows to the number from your door jamb sticker. If the reading is within 1-2 PSI of the target, your tyre is effectively correct. If it's more than 2 PSI below target, add air. If it's above target, you'll need to release some air using the small pin inside the valve stem - most gauges have a built-in release pin for this.
Inflate or deflate to reach the correct pressure
If adding air: attach the air compressor nozzle to the valve stem and add air in short bursts, checking the pressure frequently with your gauge. It's easy to overshoot. If releasing air: press the small pin inside the valve stem briefly, then re-check. Repeat until you reach the correct PSI for that tyre.
Replace valve caps and record the date
Screw the valve caps back on finger-tight. They keep dust and moisture out of the valve stem, preventing slow leaks. Note the date you checked - most manufacturers and tyre safety organizations recommend checking pressure at least once a month and before any long road trip.
Temperature Changes Affect Pressure Year-Round
As a rule of thumb, tyre pressure drops by roughly 1 PSI for every 10°F decrease in ambient temperature. This means a tyre that was correctly inflated in September may be noticeably under-inflated by December without losing a single molecule of air. Make tyre checks a habit heading into each season. For a full pre-winter and pre-summer checklist, see The Seasonal Car Check.
Once you have completed all four tyres (and the spare if accessible), replace every valve cap securely. Exposed valve stems can collect grit that causes slow, silent leaks over time.
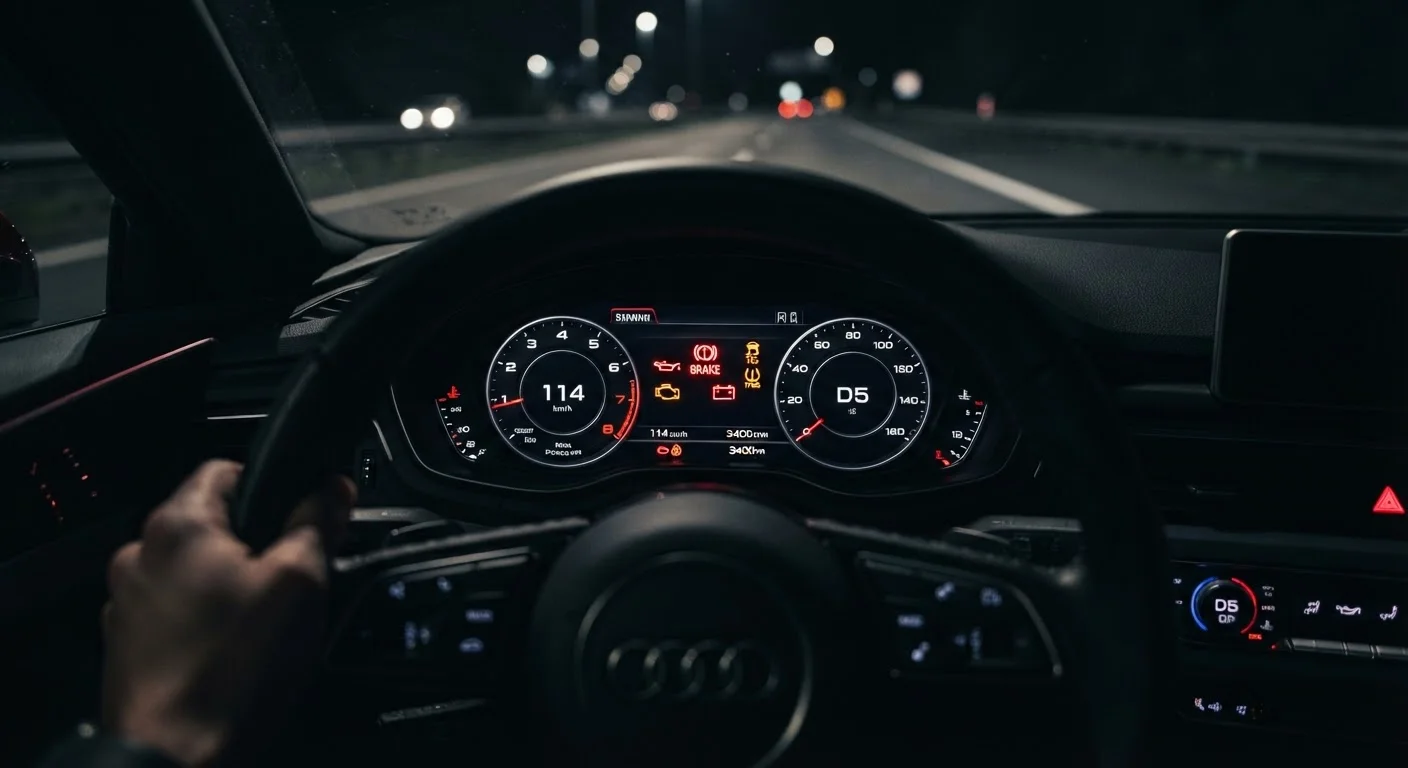
If your car's TPMS warning light illuminated before you began, recheck all four tyres after inflating. The light should extinguish on its own after driving a short distance once pressures are correct - though on some vehicles it must be manually reset. Consult your owner's manual if the light remains on after verified correct inflation. More detail on interpreting that warning is available in our guide on what your dashboard warning lights are telling you.
A TPMS Light Does Not Replace Manual Checks
Many vehicles built after 2008 include a Tyre Pressure Monitoring System (TPMS), which illuminates a dashboard warning light when a tyre drops significantly below the recommended level - typically around 25% below target. By the time that light turns on, your tyre may already be meaningfully under-inflated. Monthly manual checks catch gradual pressure loss before it reaches the TPMS threshold. For more on what your dashboard warnings mean, see what each dashboard symbol is actually telling you.